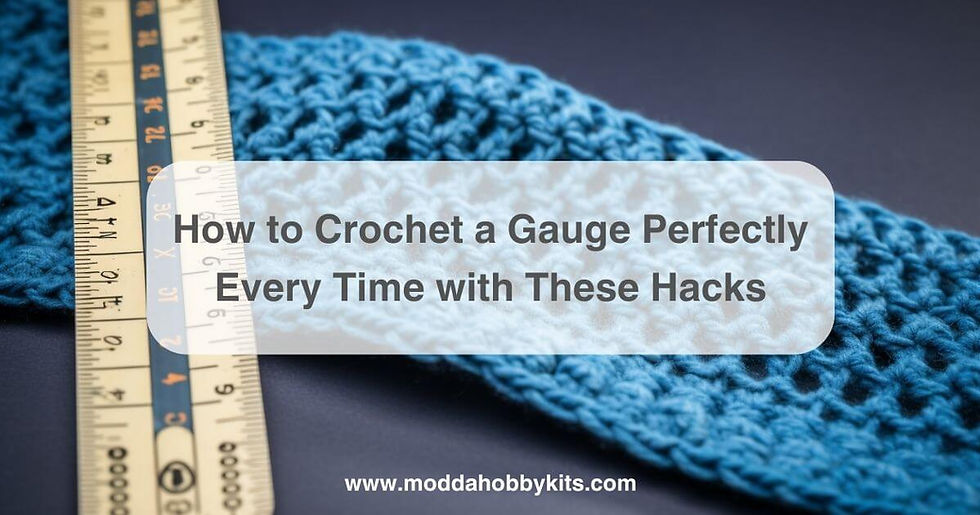
How to Crochet a Gauge Perfectly Every Time with These Hacks + Video Tutorial
- Erdem Gursoy
- May 9, 2023
- 9 min read

Aspiring and skilled crochet enthusiasts alike know that accuracy is key to crafting beautiful and well-fitted pieces.
That's where crocheting a gauge comes into play, as it serves as a measurement of your stitches' size and ensures consistency across your work.
In this blog post, we'll unravel the intricacies of crochet gauge, highlight its importance, and guide you through creating a precise gauge swatch - ultimately empowering you to achieve perfect stitch measurements every time.
Key Takeaways
Crocheting a gauge is important to ensure accuracy and consistency in stitch size, which ultimately affects the overall fit of your finished project.
To crochet a gauge swatch, you need the right tools including yarn, hook, ruler or measuring tape, stitch markers (optional), pen and paper for recording measurements, swatch template (optional), and blocking materials.
Measuring gauge involves laying your swatch flat on a surface and counting how many stitches and rows there are per inch or centimeter. Adjustments can be made by changing hook sizes or adjusting tension if necessary.
Take note of these tips: choose the right yarn and hook for your pattern; create an even foundation chain; work enough rows to measure accurately; block your gauge swatch for best results; adjust stitch size as needed through different hook sizes or tension adjustments until reaching accurate measurements.
Understanding The Importance Of Crochet Gauge
Crochet gauge is a critical aspect of any crochet project, and it involves measuring the number of stitches and rows per inch to ensure that your finished item turns out the right size.
What Is Crochet Gauge?
Crochet gauge refers to the measurement of a crocheter's stitches and rows within a specific size sample, usually represented in inches or centimeters.
Essentially, it is an indicator of how loose or tight one's crochet work is.
To provide a clear example, let us consider two individuals working on identical patterns with matching yarns but different gauges.
One person may end up producing tighter stitches using smaller crochet hooks while another might create looser stitches employing larger hooks.
Why Is Crochet Gauge Important?
Crochet gauge is an essential part of any crochet project.
It determines the size and shape of your finished item, so it's important to get it right.
If you don't match the gauge in a pattern, your project may end up too big or too small.
For example, if you're crocheting a hat with a specific circumference and the gauge isn't matched properly, the hat might not fit correctly.
Additionally, understanding how to adjust tension and hook size will help ensure that your crochet projects come out looking their best.

Tools Needed To Measure Crochet Gauge
To measure crochet gauge, you will need a few tools.
Here are the essentials:
Yarn: Choose the same yarn that you plan to use for your project.
Crochet hook: Pick a hook size that is recommended in your pattern or feel comfortable working with.
Ruler or measuring tape: Use a ruler or measuring tape to measure stitches and rows in your swatch.
Stitch markers (optional): Markers can help you keep track of where to measure your stitches and rows.
Pen and paper: Record the number of stitches and rows per inch (or centimeter) for future reference.
Swatch template (optional): Create a swatch template by drawing 4” x 4” square on paper or cardstock, then cutting it out to use as a guide when crocheting swatches.
Blocking materials (optional): Use blocking materials such as pins and spray bottles to smooth out any uneven edges of your swatch after crocheting.
By having these tools ready before starting, you can ensure accurate measurements of your gauge and make necessary adjustments for successful crochet projects.
How To Crochet A Gauge Swatch
To crochet a gauge swatch, start by choosing the yarn and hook recommended in your pattern and using those to create a foundation chain followed by crocheting several rows of stitches before measuring the gauge using a ruler or other measuring tool.
Choosing The Right Yarn And Hook
Before beginning your gauge swatch, it's important to choose the right yarn and hook for your project.
Yarn weight and fiber content can affect the tension of your stitches, so make sure to use the same type of yarn specified in your pattern.
Next, select a crochet hook that is appropriate for your chosen yarn weight.
Most patterns will provide a recommended hook size based on their gauge, but keep in mind that everyone crochets differently – some may need to go up or down in hook size depending on their tension.

Creating A Foundation Chain
To begin creating a gauge swatch, the first step is to create a foundation chain.
This is done by making a series of chain stitches using the chosen yarn and hook size.
Here's how to create a foundation chain:
Make a slip knot in the yarn and slide it onto the hook.
Hold the hook in your dominant hand and the tail end of the yarn in your non-dominant hand.
Using the hook, pull up a loop of yarn through the slip knot.
Tighten the loop around the hook by pulling on both ends of the yarn.
Repeat steps 3 and 4 until you have reached your desired number of chains.
It's important to keep an even tension while creating your foundation chain, as this will affect the overall gauge of your project.
To ensure accuracy, count each chain stitch as you make it and re-do if necessary to achieve the correct number specified in your pattern.
Once you've completed your foundation chain, continue on with crocheting your swatch of stitches to measure gauge.

Crocheting Swatch Of Stitches
To crochet a proper gauge swatch, it's important to follow these steps:
First, choose the right yarn and hook for the pattern you will be working on.
Create a foundation chain of stitches that is at least 6 stitches wide. The length of the chain should be longer than what you will need for measuring.
Work rows of the stitch pattern specified in the pattern until your piece measures at least 4 inches in height.
Measure your gauge by counting how many stitches and rows per inch (or centimeter) there are within your 4-inch square swatch.
Take note of any adjustments that may be necessary, such as using a different size hook or adjusting tension to achieve accurate measurements.
Remember, creating a gauge swatch is essential to ensure your finished project comes out the correct size and shape specified in the pattern.
Taking the time to practice and check your gauge will save you from frustration and disappointment later on in your crocheting project.
Measuring Gauge
To measure gauge, lay your swatch flat on a surface and count how many stitches and rows there are per inch (or centimeter).
Use a ruler or gauge tool to make the process easier.
For example, if the pattern calls for 16 stitches and 20 rows per four inches, but your swatch has only 14 stitches and 18 rows per four inches, you'll need to adjust by using a smaller hook size or tightening your tension.
It's important to take multiple measurements throughout the swatch as small inconsistencies can add up when making larger items.
Blocking the swatch before measuring is also recommended to ensure accurate results.

Adjusting Hook Size If Necessary
If your gauge swatch does not match the required pattern gauge, adjusting the hook size can help achieve the correct tension.
If your stitches are too small and there are more stitches per inch than recommended, switch to a larger hook size.
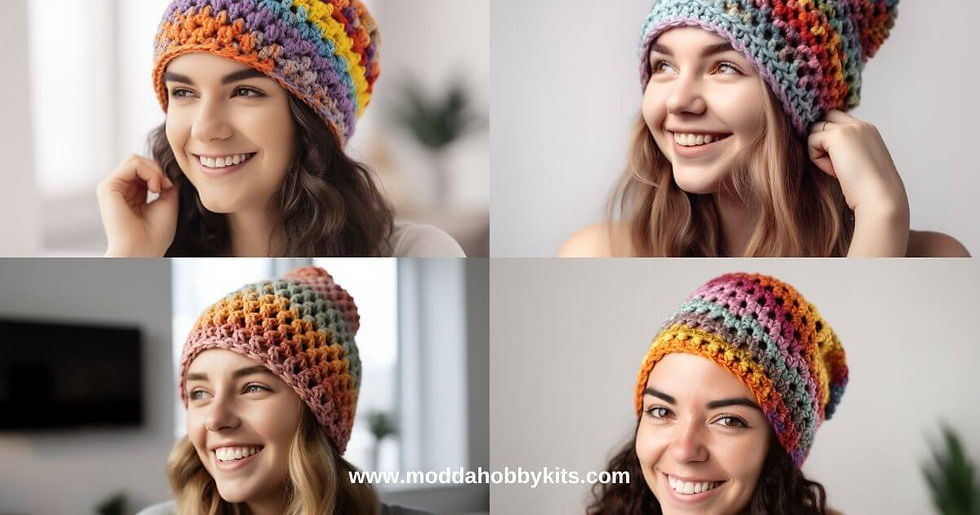
For example, let's say you're crocheting a Bed Head Slouchy Hat using worsted weight yarn with a recommended gauge of 13 single crochet (sc) stitches and 16 rows in four inches.
After working up your swatch, you find that you have 15 sc stitches and 18 rows in four inches.
To adjust for this issue with the tightness of your stitch work, switch to a smaller crochet hook and create another swatch until you get it just right.
Tips For Measuring And Adjusting Gauge
To achieve the correct gauge, it is important to block the swatch, repeat the process if necessary, and make adjustments with hook size or tension as needed.
Blocking The Swatch
Blocking your gauge swatch can help to ensure the most accurate measurement.
Here are some tips for blocking:
Wet the swatch with cold water and gently squeeze out excess water.
Lay the swatch on a flat surface and arrange it to match the intended measurements.
Pin the corners of the swatch down with rustproof pins or t-pins.
Leave it to dry completely before measuring again.
If necessary, repeat the process until you achieve the desired gauge.
By blocking your gauge swatch, you will allow the fibers in your yarn to relax into their intended shape, which will result in a more accurate measurement when you measure your gauge.
This is an important step for achieving a proper fit for any crochet project.
Repeating The Process If Necessary
After you have crocheted your gauge swatch and measured it, it's essential to repeat the process if necessary.
Sometimes, the first attempt may not come out perfect due to various factors such as tension or yarn type.
Repeating the process can help ensure that you achieve accurate results.
Continue practicing until you get consistent measurements according to your pattern instructions.
Remember that crochet gauge is different for every project, so repetition helps find what works best for each specific design.
Making Adjustments With Hook Size Or Tension
Adjusting crochet gauge can be done by manipulating either the hook size or tension. If your swatch has more stitches per inch than what is recommended, use a larger hook to create bigger stitches until you achieve the correct gauge.
On the other hand, if your swatch has fewer stitches per inch than what is recommended, use a smaller hook to create smaller stitches until you reach the required gauge.
Alternatively, adjusting tension can also affect your stitch size and therefore change your gauge.
It's important to keep in mind that both of these methods may take some practice to perfect.
It's always better to start with a small adjustment and go from there rather than drastically altering everything at once.

Frequently Asked Questions About Crochet Gauge
Answering common questions about crochet gauge, including how many stitches should be in a gauge swatch, how to measure gauge in the round, what to do if your gauge doesn't match the pattern, and whether it's okay to use a different hook size than recommended.
How Many Stitches Should Be In A Gauge Swatch?
When creating a gauge swatch, it's important to make sure it's large enough to get an accurate measurement.
The standard size for a crochet gauge swatch is 4” x 4”, but the number of stitches needed will depend on the pattern instructions.
For example, if the pattern states that there should be 16 stitches in a 4” section, you'll need to make sure your gauge swatch has at least that many stitches.
Keep in mind that if your tension is different from what the designer used when creating the pattern, you may need more or fewer stitches to match their gauge.
How Do I Measure Gauge In The Round?
Measuring gauge in the round can be a little tricky, but it's important to get an accurate measurement for circular crochet projects like hats and amigurumi.
To measure gauge in the round, you'll need to work your swatch in the same way that your pattern instructs.
Start by crocheting a chain that is slightly longer than the circumference of your measuring tool (usually a ruler).
Then join this chain into a ring using either slip stitch or single crochet.
Work enough rounds so that you have at least 2 inches of fabric to measure.
It's important to note that gauge may vary between working flat versus working in the round, so always test out your gauge before starting any project!
Keep practicing until you get accurate measurements – it will greatly improve the overall success of your crochet projects.
What If My Gauge Doesn't Match The Pattern?
If your gauge doesn't match the pattern, don't panic!
There are several things you can do to adjust it.
First, try swatching again with a different size hook.
If that doesn't work, try adjusting your tension by either loosening or tightening your stitches until you reach the correct gauge.
It's important to keep in mind that not everyone crochets at the same tension and achieving gauge may require some practice and trial and error.
Don't be afraid to take multiple measurements and experiment with hook sizes until you achieve the desired gauge.
Can I Use A Different Hook Size Than The One Recommended?
Yes, you can use a different hook size than the one recommended in a pattern, but it may affect your gauge.
Remember that matching the gauge is essential to ensure your finished item is the correct size.
If you choose to use a different hook size, make sure to create a gauge swatch with that particular hook and yarn combination before starting your project.
If the resulting gauge does not match what is called for in the pattern, adjust accordingly by either using a smaller or larger hook size based on your swatch results.
Keep in mind that using a smaller hook will result in more stitches per inch while using a larger hook will produce fewer stitches per inch.
This may also mean adjusting how many stitches are needed for each row or round of the pattern.
Conclusion
In conclusion, understanding and achieving proper gauge is crucial for successful crochet projects.
Take the time to create a gauge swatch with the recommended hook and yarn to ensure that your finished project turns out just right.
Remember, adjustments can be made by changing hook sizes or adjusting tension if necessary.
Don't be afraid to practice and check your fabric along the way!
With these tips for measuring and adjusting gauge, you'll be well on your way to creating beautiful crochet projects with confidence.


![How To End A Crochet Project [Video Tutorial]](https://static.wixstatic.com/media/4ce1a6_33b886f54ac24c77bf5ad91d58f8ef56~mv2.jpg/v1/fill/w_980,h_515,al_c,q_85,usm_0.66_1.00_0.01,enc_avif,quality_auto/4ce1a6_33b886f54ac24c77bf5ad91d58f8ef56~mv2.jpg)


Comments