How to Crochet a Bee: The Easiest Way
- May 11, 2023
- 8 min read

Welcome to the wonderful world of crochet!
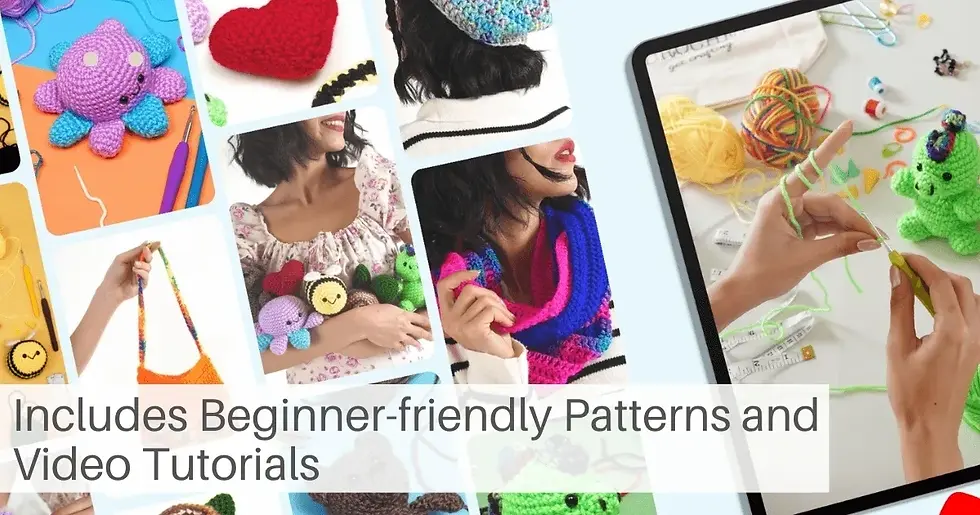
With the rising popularity of amigurumi, a Japanese style of crocheting small stuffed toys, now is the perfect time to learn how to create your very own adorable bee.
Our step-by-step guide will help you master the art of crocheting this charming insect, even if you're new to this craft.
In this blog post, we'll cover everything from materials needed and techniques used, as well as some tips and tricks that'll guarantee buzzing success in your project.
Key Takeaways
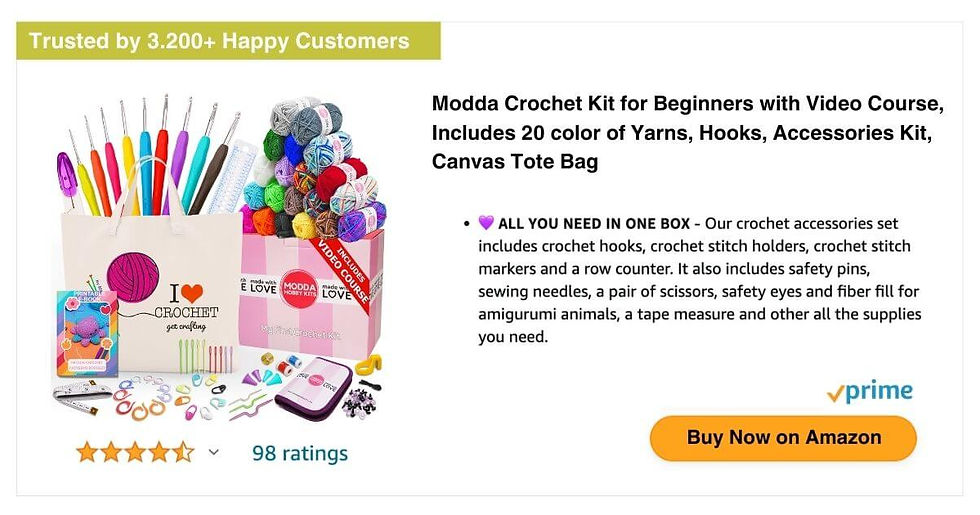
To crochet a bee, you will need yellow, black, and white yarns along with a suitable-sized crochet hook for the yarn weight, stuffing material, scissors, stitch marker and embroidery needle.
To create it successfully follow the step-by-step guide to crocheting the body and head first before moving on to making wings and stripes followed by antennae and eyes. Finally sewing all pieces together.
Perfecting tension control is crucial to ensure that your stitches don't end up too loose or too tight when creating bees.
Additionally always keep track of your stitch count using markers or contrasting color yarns while keeping an eye out for opportunities to experiment with different colors/textures of materials in order to make each creation unique.
Materials And Tools Needed To Crochet A Bee
To crochet a bee, you will need yarn in yellow, black, and white colors, a crochet hook of an appropriate size for the yarn weight, stuffing material, scissors, stitch marker, and an embroidery needle.
Yarn In Yellow, Black, And White
Choosing the right yarn colors for your crochet bee project is essential to create a realistic and adorable final product.
Yellow, black, and white are the classic colors used for crocheting bees as they represent the recognizable bumblebee look.
The yellow will be used primarily for the bee's body, while black will be utilized for adding stripes and making wings.
When selecting yarns for your crochet bee project, consider using Modda Crochet Kit as recommended by many patterns.

Crochet Hook (size Depends On Yarn Weight)
The size of your crochet hook will depend on the weight of the yarn you are using to make your bee.
For example, if you're working with a chunky yarn, you'll need a larger hook than if you were working with a finer yarn.
It's important to match the hook size to the yarn weight so that your stitches don't end up too loose or too tight.
A good rule of thumb is to check the label on your skein of yarn for suggested hook sizes and use that as a starting point.
Stitch Marker
A stitch marker is a small tool used in crocheting to help you keep track of your stitches.
It can come in the form of a plastic ring or clip that you attach to your work at specific points.
Not only does it make crocheting easier by reducing mistakes, but it also saves time when counting stitches.
You don't have to constantly count every single stitch and risk losing your place along the way.
So if you're new to crocheting or looking for ways to improve your skills and make the process smoother, using a stitch marker is definitely worth considering.
Stuffing (Fiberfill)
After crocheting the bee's body and head, the next step is to stuff it with filling.
The stuffing gives the bee its plump and cuddly shape.
One popular choice for stuffing amigurumi toys is polyester fiberfill, which can be found at any craft store.
Another option is to use yarn scraps or fabric scraps instead of the traditional filling.
Whichever material you choose, make sure it's distributed evenly throughout your bee so that there are no lumps or gaps in your crochet work once everything is sewn together.
Scissors
Once you have completed your crocheting, it's time to cut off the excess yarn with a good pair of scissors.
It is important to use sharp and precise scissors for this step, as dull or low-quality ones can result in uneven cuts or even damage to your project.
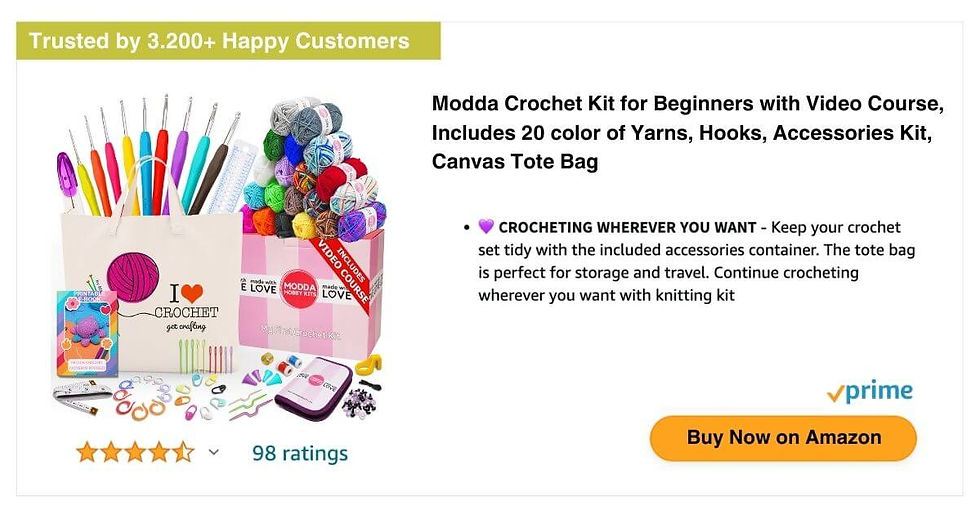
When choosing a pair of scissors for crocheting, look for ones with comfortable grips that allow you to hold them firmly like the one in the Modda Crochet Kit for Beginners.
Embroidery Needle
To add the finishing touches to your crocheted bee, you'll need an embroidery needle.
This type of needle has a larger eye and a sharper point than regular sewing needles, making it perfect for adding details like eyes, mouth, or stripes.
When using an embroidery needle for crochet projects, make sure to choose the right size depending on your yarn weight.
Thicker yarns require bigger needles while thinner ones need smaller needles.
Embroidery adds another dimension to your crochet project; making it look more professional and polished.

Step-by-Step Guide To Crocheting A Bee
To create the perfect bee, follow the steps in our Free Crochet Bee Pattern which includes creating the body and head, crafting the wings and stripes, making antennae and eyes, and sewing all pieces together.
Creating The Body And Head
To begin crocheting a bee, start with the body and head. Using yellow yarn and a crochet hook (size depends on yarn weight), make six single crochets into a magic ring.
Then, continue working in rounds by increasing stitches until you reach the desired size for the bee's body.

It's important to keep track of your stitch count as you go along to ensure that your project stays on track.
You can use stitch markers or even a piece of contrasting yarn to mark where each round begins and ends.
Additionally, if you're finding it difficult to maintain consistent tension while crocheting, try experimenting with different hook sizes or weights of yarn until you find what works best for you.
Making The Wings And Stripes
To make the bee's wings, you will need to use black and white yarn.
Follow your chosen pattern for the exact number of stitches required, but typically they are made using a small circle with double crochet stitches.

For the stripes, use black yarn to create small chains that match your desired stripe length.
You will need enough strips for each section of the bee's body as indicated in your chosen pattern.

Remember to experiment with different weights and colors of yarns until you find what works best for your project.
Crafting The Antennae And Eyes
To complete your crocheted bee, you'll need to make the antennae and eyes.
For the antennae, you can use a thin black yarn or embroidery thread.
Simply crochet a chain of 5-7 stitches (depending on how long you want your antennae to be), then slip stitch into the second chain from your hook.

Fasten off and repeat for the second antenna.
For the eyes, you can use small black buttons or embroidered circles in white yarn.
Another option is to create "sleepy" eyes by using half-circles of white felt with smaller circles of black felt stitched onto them.
Sewing The Pieces Together
Once you have crocheted all the necessary pieces for your bee, it's time to sew everything together.
Start with the body and head, using a whip stitch to attach them firmly.
Make sure to stuff the body before closing it up completely.

Next, add the wings by pinning them in place on top of the body and sewing along the edges with a blanket or whip stitch.
Finally, create eyes and other details on your bee using an embroidery needle and black yarn or thread.

Remember that some tutorials will have their own unique methods for stitching everything together so don't be afraid to experiment until you find what works best for you!
Tips And Tricks For Crocheting Bees
Perfect your tension control by practicing with different yarn weights. Use a stitch marker to keep track of stitch count and avoid mistakes.
Add embroidery details for a more realistic touch, and attach wings and antennae firmly for durability.

Perfecting Tension Control
To crochet a bee successfully, it's crucial to have good tension control.
Tension refers to how tight or loose you hold your yarn while crocheting.
If your stitches are too tight, the bee will be stiff and may not look right.
One way to perfect your tension is by practicing with different yarn weights and hook sizes until you find what works best for you.
You can also try adjusting your grip on the hook or making more frequent adjustments as you work through each row.
Remember that tension affects the overall size of your project, so take care to keep track of stitch count and make any necessary modifications along the way.

Keeping Track Of Stitch Count
One of the essential skills to learn when crocheting a bee - or any crochet project, for that matter - is keeping track of your stitch count.
This means counting the number of stitches at the end of every row and making sure it matches with the pattern's instructions.
An easy way to keep track is by using a stitch marker.
After completing each row, move the marker up to mark where that row ends.
This will help you count your stitches accurately and make it easier to find any mistakes if they occur.
Another tip is to double-check your work before moving onto the next row or section.

Experimenting With Different Yarn Weights And Colors
One of the best things about crocheting is the ability to experiment with different yarn weights and colors.
Changing up your materials can completely transform a project, making it unique and personalized.
In addition to playing with yarn weight, you can also mix up your color choices.
Adding Embroidery Details
Once you've crocheted your bee, it's time to add some embroidery details to bring it to life.
Adding small touches like eyes and a mouth can really make your bee stand out.
You can use black thread to stitch on the eyes or even add some white highlights for a cute and playful look.

For the mouth, you could use pink or red embroidery floss to create a tiny smile.
Another fun addition is adding some texture with different embroidery stitches.
For example, you could use French knots in yellow thread for the bee's antennae or chain stitching for the stripes on its body.
These simple touches will make your bee toy look more professional and polished.
Attaching Wings And Antennae Firmly
Once you have crocheted the bee's wings and antennae, it is time to attach them securely.
First, position the wings on top of the bee’s body where desired and hold them in place with pins.
Then, using an embroidery needle and thread that matches the color of your yarn, sew through both layers of the wing and across to secure its position.
For the antennae, insert a thin wire or pipe cleaner inside each one to make them (optional).

Then use the same method as mentioned above to sew each one into place on top of the bee's head.
Remember that practice makes perfect when it comes to crochet!
Don't get discouraged if your first attempt isn't perfect. Experiment with different techniques until you find what works best for you.
Practicing And Learning From Mistakes
Don't be discouraged if your first attempt at crocheting a bee doesn't turn out perfect.
As with any new hobby, mistakes are inevitable and can offer valuable learning experiences.
Don't give up on your project!
Instead, use the opportunity to practice your tension control and stitch count.
Experiment with different yarn weights and colors to find what works best for you.
Attaching the wings and antennae securely may take a few tries, but it's important not to get frustrated.
Learning from mistakes is essential in improving your skills as a beginner crocheter.
With persistence, you'll be able to create beautiful bees that make great gifts or decorations for any occasion.

Conclusion
Now that you have all the necessary tools and knowledge, it's time to start crocheting your very own bee!
Whether you're a beginner or an experienced crafter, this project is sure to bring a smile to your face.
From perfecting your tension control to experimenting with different yarn colors and weights, there are plenty of ways to make your bee unique.
FAQ
What supplies do I need to crochet a bee?
To crochet a bee, you will require yarn in black and yellow colors, an appropriate-sized crochet hook, stuffing material such as fiberfill or cotton balls, and felt fabric for wings.
Can beginners crochet a bee?
Yes, with some basic knowledge of crocheting techniques and following step-by-step guides or patterns available online or in books, even beginners can easily learn how to crochet a bee.
How can I make sure my bee looks realistic?
To ensure that your crocheted bee looks authentic and lifelike, pay attention to the color combination and pattern details like stripes on the body and wings' shape. Using small details like embroidery floss for eyes or adding antennae also adds charm to it.
Are there different ways to customize my bees?
Yes! You can personalize your honeybee further by adjusting its size (using thicker/thinner yarn or larger/smaller hook), making variations in wing shapes/designs (such as honeycomb designs), adding accessories like hats/scarves/jewelry pieces that complement its style! The possibilities are endless; let your imagination run wild when customizing them according to individual preferences/skill levels.
![How To End A Crochet Project [Video Tutorial]](https://static.wixstatic.com/media/4ce1a6_33b886f54ac24c77bf5ad91d58f8ef56~mv2.jpg/v1/fill/w_980,h_515,al_c,q_85,usm_0.66_1.00_0.01,enc_avif,quality_auto/4ce1a6_33b886f54ac24c77bf5ad91d58f8ef56~mv2.jpg)


Comments